

Showing posts with label tutorial. Show all posts
Showing posts with label tutorial. Show all posts
Saturday, June 1, 2013
Help with the Pineapple Robe
Hey all! I haven't had any questions on it yet, but I'm already anticipating some possible confusion with the side panels that are part of the Pineapple Robe pattern. If you've made it through already, you are a steller crocheter! If you need some more help... here you go! (Click on the photo to enlarge it a little!)

Tuesday, January 22, 2013
Loop Stitch Tutorial
So I'm really into this new stitch! I have so many ideas of cool things to make with it, and hopefully lots of fun patterns to come! SO... since it took me a little while to figure out, I thought I'd share a little photo tutorial to help you learn it too (if you don't know it already).
The Santa Hat uses this stitch already and this cool sweater coming soon!

The Santa Hat uses this stitch already and this cool sweater coming soon!

So here's how to get started with this stitch (a great practice DIY using it should be coming later this week... hoorah)!
 | |
| Begin with a simple single crochet row... nothing new or fancy involved. This is the Right Side of the work. |
 | |
| The second row of sc gets a little funky- there will be a loop coming out the back of the stitch appearing on the Right Side... start by inserting hook in previous stitch as always. |
 |
| Here is the difference, yarn over. Use your hook to grab the yarn over a distance away from the hook. That loop that comes up around your finger will be the loop of the loop stitch. |
 |
| Pull that yarn over through the stitch. Your finger is still maintaining the loop at the back of the stitch, with the loop appearing on the Right Side. |
 |
| Yarn over as you would with a normal sc stitch. |
 | |
| Pull yarn over through the two loops on hook. |
 |
| Continue this slightly altered stitch all the way across the row creating a series of loops coming out the back of the stitches you are working on and appearing on the Right Side of the work. This is the view from the Wrong Side of the work. |
 |
| This is what it looks like on the Right Side of the work. |
 | |
| Now make a regular sc row across... no loops this time. |
Continue making regular sc rows when the Right Side of the work is facing, and the Loop Stitch when the Wrong Side of the work is facing (allowing the loops to appear on the Right Side).
 |
| And after a few rows... The Right Side of the work looks like this!!! All cool and loopy! |
And that's it! Try it out a little if you want! A good chance to practice the stitch is coming up later in the week! Email SansLimitesCrochet@gmail.com with any questions!
Tuesday, July 3, 2012
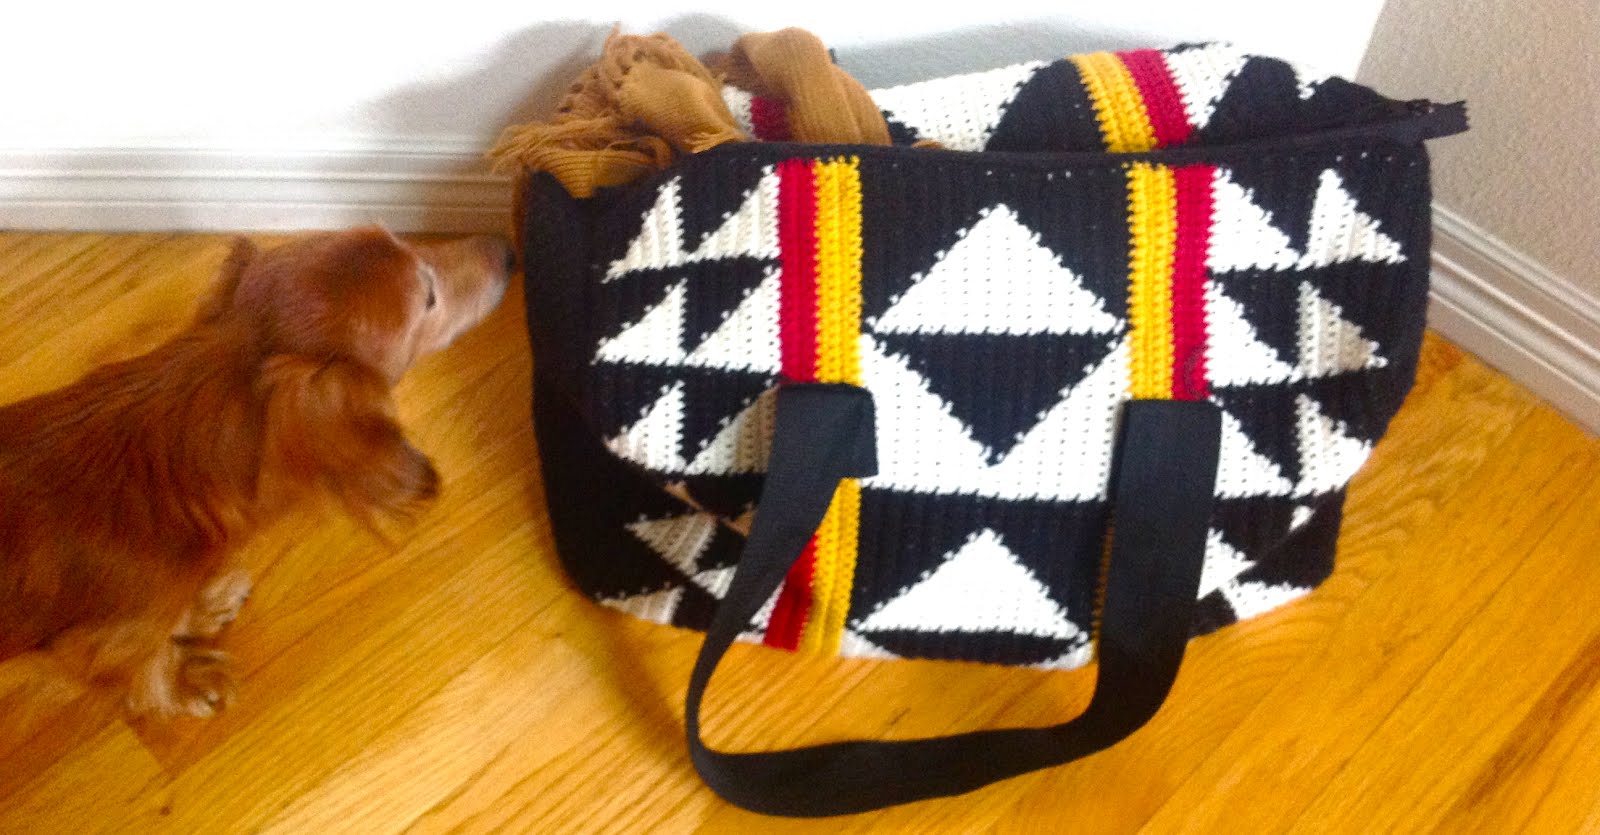
The Sans Limites Duffle Bag
Here's another chance to use your color changing skills! Pattern for The Sans Limites Duffle Bag is up on Etsy and Ravelry!
This is my new favorite pattern! Try it out and use this bag for your summer travels!


This is my new favorite pattern! Try it out and use this bag for your summer travels!


Thursday, June 28, 2012
Notes On Color Changing
I'm really excited about some pretty fun patterns that all include the ability to change colors while crocheting to make geometrical shapes or otherwise cool designs. This process is NOT as hard as it looks, but it does require some practice. If you want to make sure you have color changing DOWN before you buy any pattern that involves it... this is your chance. Read on, and practice away!
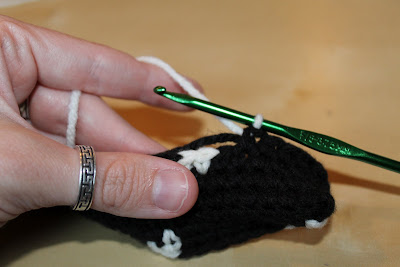
When working with color changing patterns, you will trail both (or all) colors you are working with along the rows as pictured.

Whichever color you are not working with will be trailed along the back, inside the work. You will stitch around the trailed color so it is inside your single crochet stitch.

When it comes time to switch colors, you will finish the last “pull through 2 loops” with the color you are changing to. For example, if the pattern says “1 sc in each of the next 7 sc of previous row in black. In white, 1 sc in next sc,” you will make 6 regular sc in black with white trailing along the inside of the stitch. When you go to do the 7th sc, insert hook into the next st, pull through with black, leaving 2 loops left on hook. To finish the stitch, pull WHITE through. Now, insert hook into the next st, pull through with white (stitching around the black tail), leaving 2 loops left on hook. To finish the stitch pull BLACK through.
If the color change is done correctly, there will be a straight line of color change.

If it is done INCORRECTLY, there will be an awkward tail hanging over into the next stitch.

Working in the Round vs. Working Back and Forth
Working in the round is far easier when working with color changes, because you can keep the extra color consistently tucked along the back of the work so there is no chance of it peaking out between stitches.
When working back and forth, it is important to remember there is a “right side” and a “wrong side.”
When working with the right side facing front, you will keep the extra tails for your color changes running along the BACK and in between the stitches so they are as invisible as possible. It should look a bit like this…

When working with the wrong side facing front, you will keep the extra tails for your color changes running along the FRONT and in between the stitches so if they peak out from between the stitch it is visible on this “wrong side” and not on the right side. It should look a bit like this…

And there are all the secrets I know on color changing! It can be really frustrating at first (I quit probably the first 5 times I tried), but it comes more easily with practice! Email SansLimitesCrochet@gmail.com with additional questions and GOOD LUCK!
When working with color changing patterns, you will trail both (or all) colors you are working with along the rows as pictured.

Whichever color you are not working with will be trailed along the back, inside the work. You will stitch around the trailed color so it is inside your single crochet stitch.

When it comes time to switch colors, you will finish the last “pull through 2 loops” with the color you are changing to. For example, if the pattern says “1 sc in each of the next 7 sc of previous row in black. In white, 1 sc in next sc,” you will make 6 regular sc in black with white trailing along the inside of the stitch. When you go to do the 7th sc, insert hook into the next st, pull through with black, leaving 2 loops left on hook. To finish the stitch, pull WHITE through. Now, insert hook into the next st, pull through with white (stitching around the black tail), leaving 2 loops left on hook. To finish the stitch pull BLACK through.

If the color change is done correctly, there will be a straight line of color change.

If it is done INCORRECTLY, there will be an awkward tail hanging over into the next stitch.

Working in the Round vs. Working Back and Forth
Working in the round is far easier when working with color changes, because you can keep the extra color consistently tucked along the back of the work so there is no chance of it peaking out between stitches.
When working back and forth, it is important to remember there is a “right side” and a “wrong side.”
When working with the right side facing front, you will keep the extra tails for your color changes running along the BACK and in between the stitches so they are as invisible as possible. It should look a bit like this…

When working with the wrong side facing front, you will keep the extra tails for your color changes running along the FRONT and in between the stitches so if they peak out from between the stitch it is visible on this “wrong side” and not on the right side. It should look a bit like this…

And there are all the secrets I know on color changing! It can be really frustrating at first (I quit probably the first 5 times I tried), but it comes more easily with practice! Email SansLimitesCrochet@gmail.com with additional questions and GOOD LUCK!
Wednesday, January 11, 2012
Stitched Up Shoes
I've been getting really excited about the stitching I see on shoes lately, but had no idea where to begin with making crochet shoes. Here are some pictures that were inspiring me!

Image from DIY Daily.

Image from Lulus.com.

Image from Style Bubble.
But then I found this video tutorial from Corinne's Craft Closet and got really really really excited...so excited I had to keep myself from hopping out of bed and trying to shop for wedge shoes... I'm definitely going to be following this gal with her awesome ideas!
How awesome is Corinne's Craft Closet? Pretty awesome! I'm definitely trying this... I'll let you know how it goes... I might challenge myself and crochet my own doilies... or not... still deciding! YAY!
Wednesday, December 28, 2011
The X Stitch (my first attempt at a video tutorial)
Note to self:
-next time have someone behind the camera so it's not so blurry.
-get rid of chipped, crappy nail polish.
OH WELL.
There were some problems making the X stitch needed to complete the Kathleen Dress, so here is a short video to help you out! Email me at SansLimitesCrochet@gmail.com with any questions!

Subscribe to:
Posts (Atom)