OK! Time to slip this free DIY in before summer school starts! It's been a while!
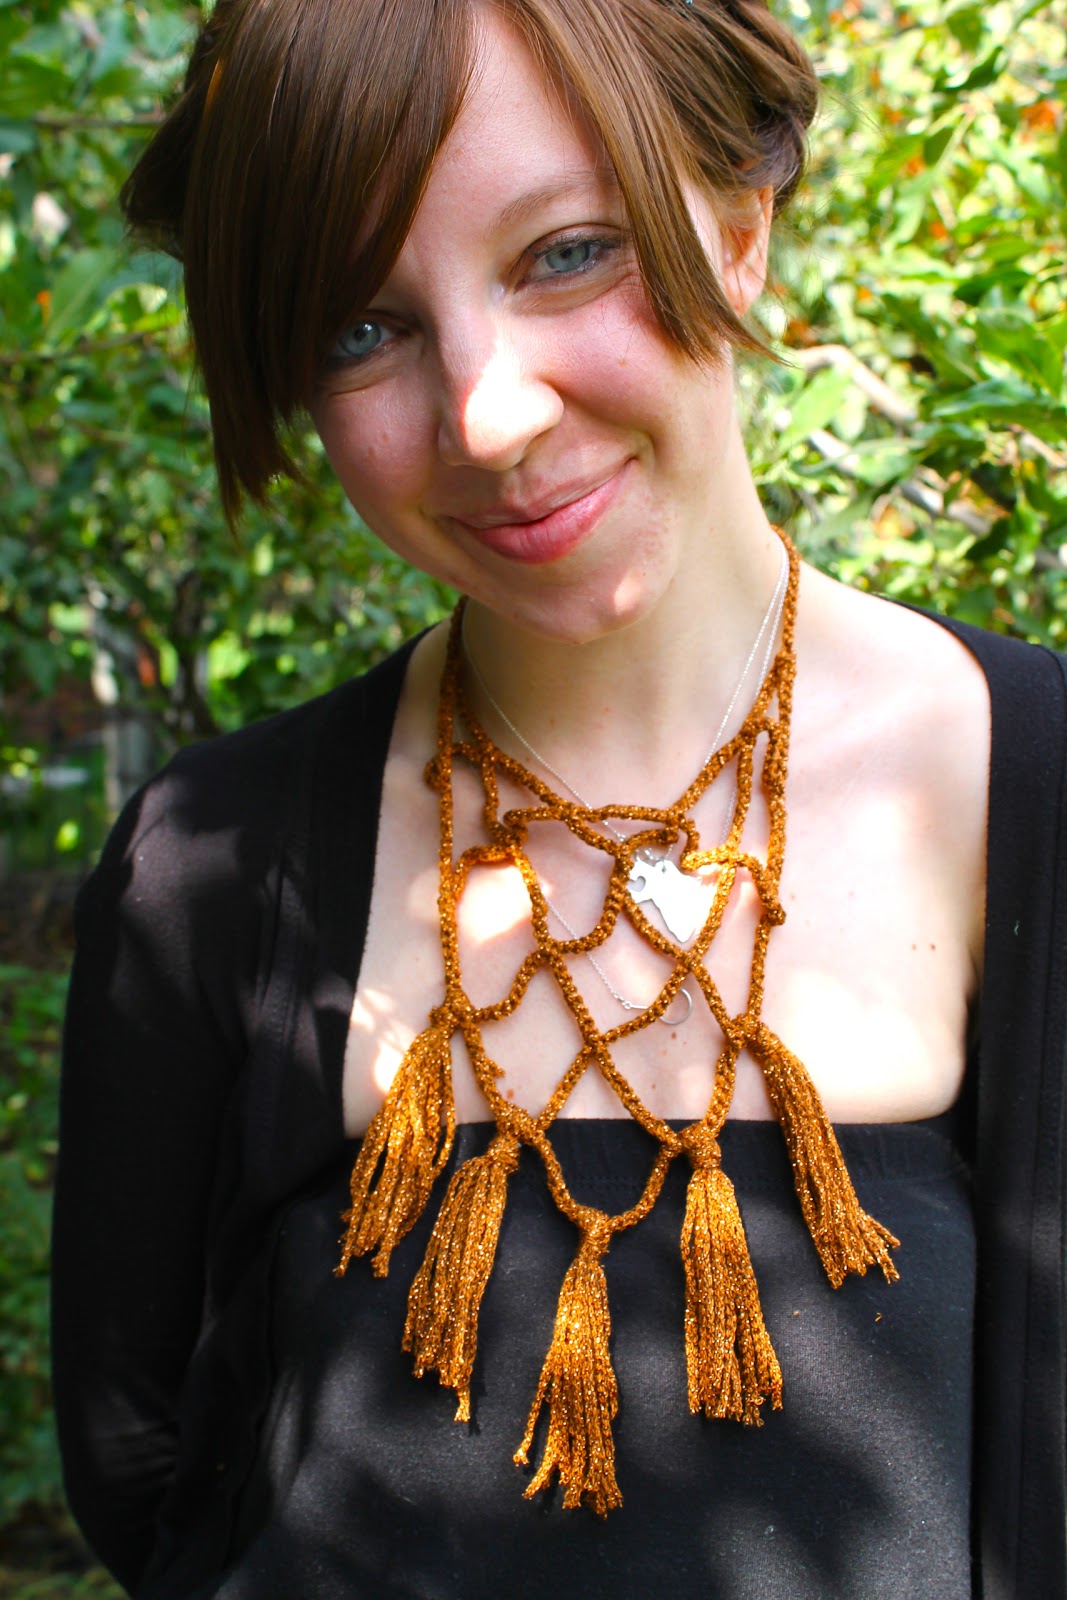
I'm loving the fringe trend right now! Here is a cool way to add fringe to some clothes you have lying around that might need a little pick me up.
You will need:
-Cotton yarn (Worsted weight or thinner, but cotton drapes the best)
-Crochet hook that matches the gauge of your yarn
-A piece of clothing that needs a lil something
-Needle and thread
Chain a multiple of 5 plus one that fits the length of the garment you are adding the fringe to. (Remember, the chain length gets a bit longer, once there are stitches in it.)
1sc in second ch from hook and in each ch across. Turn.
Ch. 1, 1sc in each sc across. Turn.
Make one more sc row.
*Chain 9, skip the next 4 sc stitches. Make 1 sc in the 5th sc. Repeat from * across. Turn.
Chain 15. 1 sc in ch-9 space of previous row. *Chain 9, 1 sc in ch-9 space of previous row. Repeat from * across.
Repeat the previous row 3 more times.
Cut, bind off, weave in loose ends.
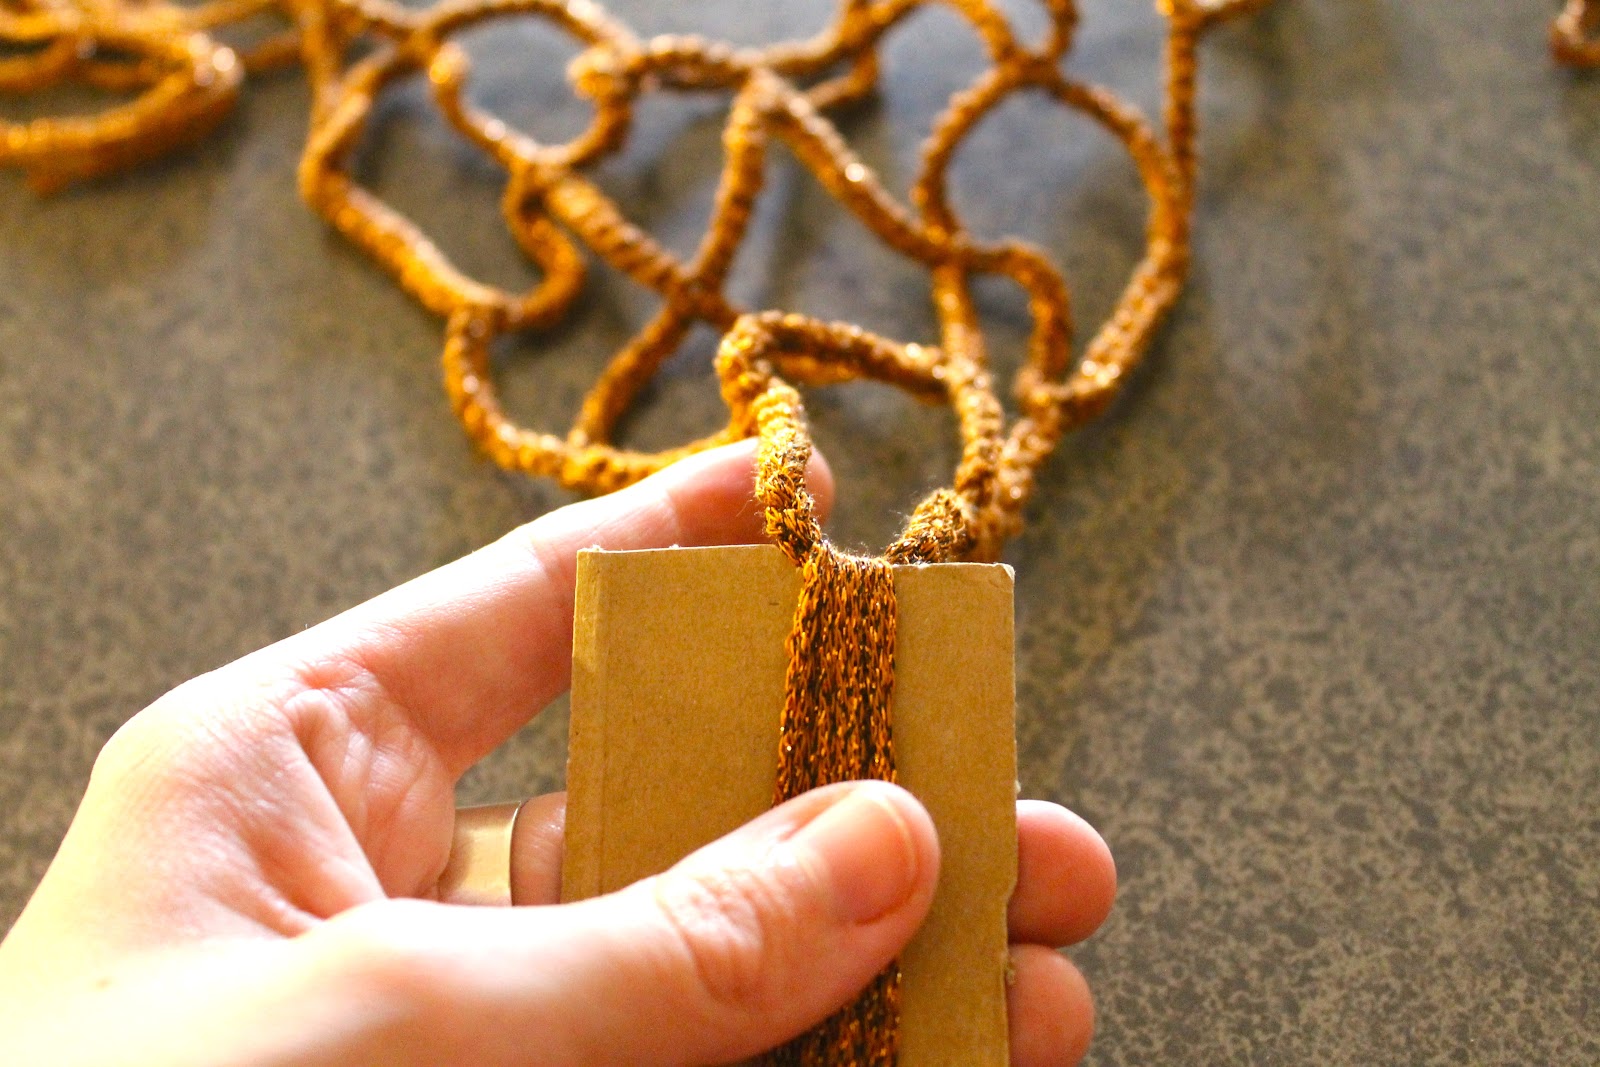
Cut 10 inch pieces of yarn. Take two strands and a time, fold them in half, and loop them through the chain 9 spaces in the last row.
Sew the sc rows onto the piece of clothing you are dressing up with a needle and thread. If you are really feeling awesome, you could use your sewing machine.
Also, I just had a great customer share how to use a "sharp crochet hook"... WHAT? It's pretty cool! I haven't tried it yet, but if you have a piece of clothing you don't mind experimenting on... go for it!